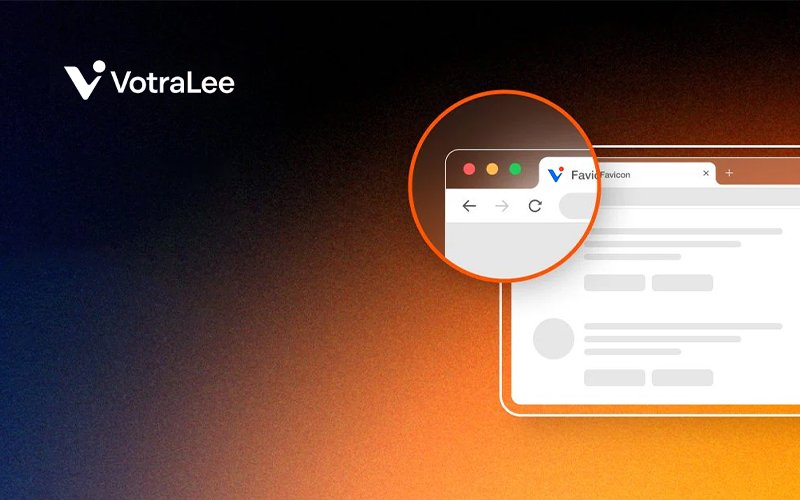
What is a favicon? A favicon is a small but essential icon that appears in browser tabs, bookmarks, search results, history archives, and mobile home screens. It helps users quickly recognize and find your website among multiple open tabs.
Is adding a favicon to WordPress necessary? Absolutely! In this guide, we’ll explain why a favicon is important, and you can:
- Follow 6 steps to add favicon to WordPress easily.
- Know the best size and format guidelines to ensure your favicon looks sharp and professional.
Let’s get the ball rolling!
Why Your WordPress Store Needs a Favicon?
Think of WordPress favicon as a digital business card. Whenever someone visits your site, saves it as a bookmark, or searches through their browsing history, your favicon makes your brand stand out with a stronger brand identity.
Here are the details on why you should add favicon to WordPress store:
- Enhances user experience: A favicon helps customers quickly recognize your store among multiple open tabs. It improves navigation, making it easier for visitors to stay on your site instead of losing track of it.
- Increases brand awareness: A WordPress favicon reinforces your brand and makes it easy to recognize. Whether users bookmark your site or see it in their browsing history, a memorable favicon helps keep your store top-of-mind.
- Builds trust and credibility: A professional favicon signals that your store is trustworthy and reputable. It adds credibility, making visitors feel more confident when shopping with you.
- Improve ranking on search engines: A recognizable favicon helps users quickly find and return to your store, increasing time spent on your site, an important factor for SEO. Websites with favicons are more likely to be bookmarked, improving visibility and user retention over time.
- Creates a polished and professional look: A favicon adds a refined and cohesive look to your WordPress store. Without favicon, your site may look incomplete or generic, which can affect first impressions.
✅ How to Add Favicon to WordPress Site in 6 Steps
Step 1: Log in to your WordPress Dashboard
- Go to yourdomain.com/wp-admin and enter your username and password to access the WordPress admin panel.
Step 2: Navigate to Appearance > Customize
- In the left-hand menu, go to Appearance > Customize to open the WordPress Customizer panel where you can edit your site’s appearance.
Step 3: Go to Site Identity
- Inside the Customizer, click on Site Identity.
- This section allows you to change your site title, tagline, and upload a Site Icon (which is the favicon).
Step 4: Upload Your Favicon Image
Under Site Icon, click the Select site icon button.
You’ll be taken to the WordPress Media Library:
- If you already uploaded the favicon image before, simply select it.
- To upload a new image from your computer, click Upload files, then drag and drop your image or use the Select Files button.
📌 Recommended size: 512 x 512 pixels (PNG, JPG, or ICO)
Step 5: Add Alt Text for SEO
- Before inserting the image, you can edit its Alt Text in the Media Library’s right-hand panel.
- Use a brief and descriptive alt text (e.g., “VotraLee favicon logo”) to improve SEO and accessibility.
Step 6: Save and Publish
After selecting your favicon, click Select, then go back to the Customizer and click Publish to save your changes.
Now, open a new tab and refresh your website to check the updated favicon.
💡 Tip: If the favicon doesn’t show up immediately, clear your browser cache and refresh the page.
🔄 Want to change your WordPress favicon later?
Just repeat the above steps:
- Appearance > Customize
- Site Identity
- Click Change image under Site Icon
- Select a new image
- Click Publish


